Embarking on the Lightning Rod hiking trail to the summit of Mt Thielsen is an adventure that combines breathtaking views, geological wonders, and a challenging ascent. Known as the “Lightning Rod of the Cascades,” Mt Thielsen stands at 9,182 feet, piercing the sky with its distinctive spire. This comprehensive guide will provide you with everything you need to know to conquer the Lightning Rod hiking trail, including trail details, safety tips, lightning precautions, and what to expect on this unforgettable journey.

Introduction to Mt Thielsen: The Lightning Rod of the Cascades
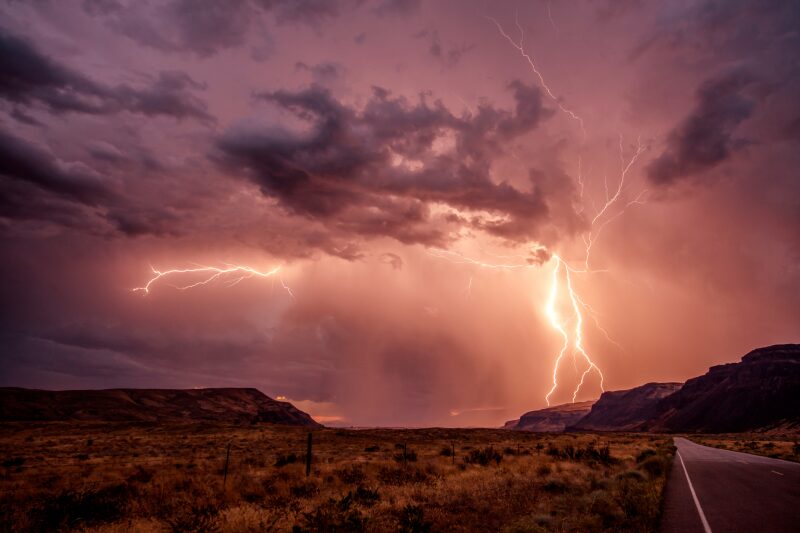
Mt Thielsen, often referred to as the Lightning Rod of the Cascades, is a dormant volcano that last erupted over 100,000 years ago. Its sharp spire-like peak, carved by centuries of erosion, makes it a prominent landmark in Oregon’s Cascade Range. The mountain’s nickname stems from its frequent lightning strikes, especially during summer thunderstorms, making the Lightning Rod hiking trail both a thrilling and cautious endeavor for hikers.
Getting to the Trailhead
The starting point of the Lightning Rod hiking trail is the Mt Thielsen Trailhead, conveniently located along Oregon Highway 138.
Directions:
- From Roseburg:
- Drive east on Highway 138 for approximately 70 miles.
- Look for the paved parking lot on the east side of the highway, just south of the Diamond Lake Resort turnoff.
- Trailhead Amenities:
- Parking: Ample paved parking is available.
- Facilities: No restrooms or water sources; plan accordingly.
- Trail Access:
- The trailhead provides access to the Mt Thielsen Trail, the Pacific Crest Trail (PCT), and the Spruce Ridge Trail.
Hiking the Lightning Rod Trail
Trail Overview
- Total Distance: Approximately 9 miles round trip.
- Elevation Gain: Nearly 3,800 feet from the trailhead to the summit.
- Difficulty: Strenuous, with steep and challenging sections near the summit.
- Best Time to Hike: Late summer to early fall when the trail is free of snow and weather conditions are more stable.
Table: Trail Statistics
| Trail Section | Distance (One Way) | Elevation Gain | Highlights |
|---|---|---|---|
| Trailhead to PCT Junction | 4 miles | Moderate | Forested paths, blowdown areas |
| PCT Junction to Summit | 1 mile | Steep | Above treeline, rock formations, spire |
| Total Round Trip | 9 miles | ~3,800 feet |
Trail Sections
Trailhead to PCT Junction
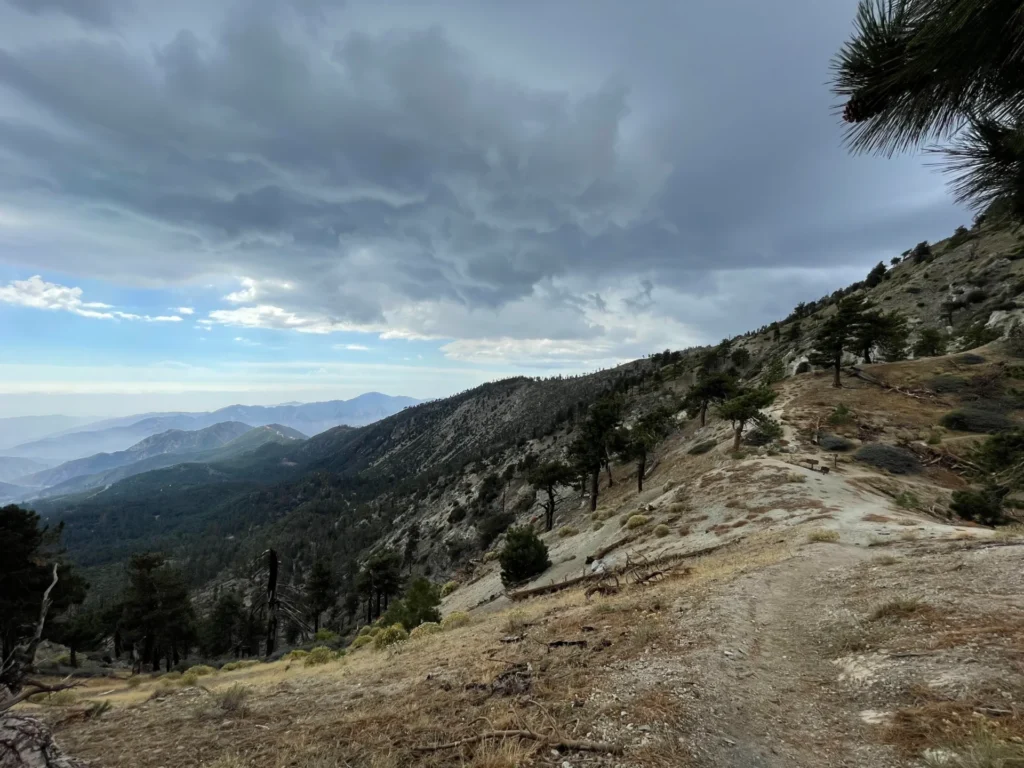
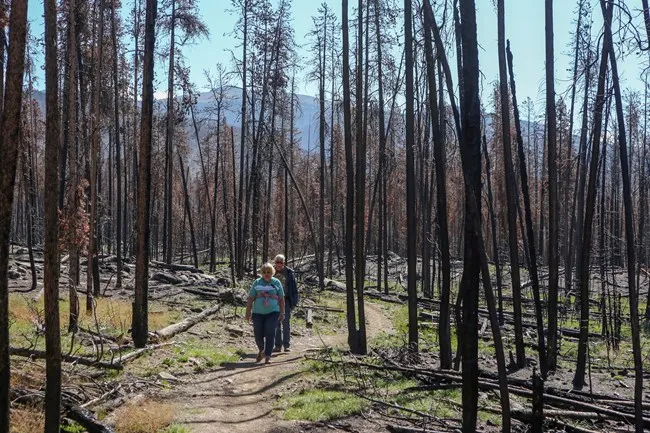
The initial four miles of the Lightning Rod hiking trail meander through a lush forest of conifers. The path has a moderate incline, making for a comfortable pace. Along this section, hikers will notice areas of significant blowdowns caused by past storms that toppled large swaths of trees. The trail has been rerouted in places to navigate around these obstacles.
PCT Junction to Summit
Upon reaching the junction with the Pacific Crest Trail, approximately four miles from the trailhead, the true majesty of Mt Thielsen comes into view. The imposing spire towers above, and the trail steepens considerably.
- Terrain: The path becomes rocky, and the defined trail fades as you ascend the west ridge.
- Navigation: Cairns and footpaths indicate common routes, but hikers must choose their path carefully.
- Elevation Gain: This final mile involves significant elevation gain and requires scrambling over rocks.
Unique Geological Formations
Mt Thielsen’s landscape is a testament to its volcanic origins and the relentless forces of erosion.
Notable Features:
- Sharp Shale Sections: Areas with razor-like shale rocks; caution is advised to avoid cuts.
- Eroded Pinnacles: Striking rock spires and formations resulting from the erosion of softer materials.
- White Pumice Fields: On the east side, remnants of the Crater Lake eruption 6,600 years ago create a stark contrast against the darker volcanic rock.
While ascending the Lightning Rod hiking trail, you’ll pass through these unique formations, offering a glimpse into the mountain’s geological history.
Lightning Safety on the Trail
Given the mountain’s propensity for attracting lightning, understanding lightning safety is crucial when hiking the Lightning Rod hiking trail.
Understanding Lightning Risks {#understanding-lightning-risks}
- High Elevation: The summit’s elevation makes it a prime target during thunderstorms.
- Open Areas: Above the treeline, hikers become the tallest point, increasing risk.
- Weather Variability: Mountain weather can change rapidly; storms can develop unexpectedly.

The 30-30 Rule
A simple guideline to gauge lightning risk:
- Flash-to-Bang Method:
- Count: When you see lightning, count the seconds until you hear thunder.
- Distance: Each second equals approximately one mile of distance.
- Seek Shelter:
- Within 30 Seconds: If thunder follows lightning within 30 seconds, the storm is within six miles, and you are in danger.
- Wait: After the last thunderclap, wait 30 minutes before resuming activities.
What to Do During a Storm
- Descend Immediately: Move to lower elevations if possible.
- Avoid Exposed Areas: Stay away from ridgelines, summits, and open fields.
- Seek Shelter:
- Best Options: Enclosed vehicles or substantial buildings (though unlikely on the trail).
- Forests: If no shelter is available, a dense forest at lower elevations offers some protection.
- Avoid Conductors:
- Metal Objects: Remove metal-framed backpacks, trekking poles, and avoid metal fences.
- Water: Stay away from water sources, including puddles and streams.
- Lightning Crouch:
- Position: Crouch down on the balls of your feet, feet together, head tucked, and cover your ears.
- Isolation: Keep at least 20 feet away from other people to reduce multiple casualties.
Essential Gear and Preparation
Recommended Gear:
- Footwear: Sturdy hiking boots with good ankle support.
- Helmet: For protection against falling rocks during the scramble to the summit.
- Clothing:
- Layers: Moisture-wicking base layer, insulating mid-layer, and a waterproof outer layer.
- Sun Protection: Hat, sunglasses, and sunscreen.
- Navigation:
- Map and Compass: Essential as the trail can become indistinct.
- GPS Device: Helpful but do not rely solely on electronics.
- Safety Equipment:
- First Aid Kit: Include blister care and basic medical supplies.
- Emergency Whistle: For signaling in case of emergency.
- Water and Nutrition:
- Water: At least 3 liters; there are no reliable water sources along the trail.
- Food: High-energy snacks and a packed lunch.
- Lighting:
- Headlamp: In case the hike takes longer than expected.
Physical Preparation
- Fitness Level: The Lightning Rod hiking trail is demanding; regular cardiovascular and strength training is recommended.
- Experience: Some scrambling and basic climbing skills are beneficial for the final ascent.
Spectacular Views and Photography Opportunities
One of the highlights of the Lightning Rod hiking trail is the panoramic vistas you’ll enjoy:
- Diamond Lake: Visible to the west, offering stunning reflections of Mt Thielsen.
- Crater Lake Rim: To the south, you can glimpse the rim of this famous caldera.
- Surrounding Peaks: Views of Mt Bailey, Howlock Mountain, and on clear days, as far as the Three Sisters to the north and Mt Shasta to the south.
Photography Tips:
- Golden Hours: Early morning or late afternoon light enhances the landscape’s textures.
- Safety First: Be cautious when taking photos near edges or steep drop-offs.
- Equipment: A lightweight camera or smartphone with a good camera is ideal; consider carrying extra batteries.

Flora and Fauna Along the Trail
Despite the rugged environment, the Lightning Rod hiking trail is home to diverse plant and animal life.
Flora:
- Subalpine Vegetation: Hardy plants like lupine and Indian paintbrush add splashes of color.
- Lichen and Mosses: Unique lichen patterns create natural art on the rocks.
- Forest Species: Lower elevations feature Douglas fir, lodgepole pine, and mountain hemlock.
Fauna:
- Birds:
- Red-Tailed Hawks: Often seen soaring above the ridges.
- Songbirds: Listen for the melodies of mountain chickadees and juncos.
- Mammals:
- Chipmunks and Squirrels: Commonly spotted along the trail.
- Deer and Elk: Occasionally observed in the forested areas.
Tips for a Successful Hike
Check Weather Conditions
- Forecasts: Use reliable sources to check for thunderstorms or adverse weather.
- Trail Conditions: Contact the U.S. Forest Service for current trail status.
Start Early
- Time Management: Allow ample time for the ascent and descent.
- Avoiding Storms: Thunderstorms are more common in the afternoon.
Hike with a Partner
- Safety: Having a companion increases safety, especially during emergencies.
- Shared Experience: Enjoying the adventure together enhances the experience.
Stay Hydrated and Energized
- Hydration: Drink water regularly to prevent altitude-related dehydration.
- Nutrition: Snack on high-energy foods to maintain stamina.
Respect Wildlife and Nature
- Leave No Trace: Pack out all trash, including biodegradable items.
- Wildlife Distance: Observe animals from a safe distance; do not feed them.
Conquering the Lightning Rod hiking trail up Mt Thielsen is a challenging yet immensely rewarding experience. From navigating unique geological formations to witnessing panoramic views that stretch across Oregon’s majestic landscapes, this hike offers adventurers a chance to connect deeply with nature. By preparing adequately, respecting the mountain’s inherent risks—especially regarding lightning safety—and embracing the journey, you can create memories that will last a lifetime.
And speaking of weather, what happens if you find yourself caught in a lightning storm? The video below offers crucial tips on staying safe during such conditions.
Connecting with the Hiking Community
One of the best aspects of hiking the lightning rod hiking trail is the opportunity to connect with fellow hiking enthusiasts. Many hikers share their experiences and tips online, creating a vibrant community that thrives on adventure. Joining local hiking groups or forums can enhance your experience and provide valuable insights.
Many hikers recommend documenting your journey through trail reviews or sharing your favorite spots on social media. This not only creates lasting memories but also helps others discover the beauty of the trail. Who knows? Your experience might inspire someone else to embark on their own adventure!
What to Expect on the Lightning Rod Hiking Trail
As you navigate the lightning rod hiking trail, expect a variety of terrains. From rocky paths to smooth stretches, each step offers a new experience. The changing landscapes keep your hike exciting, and the scenic views will often leave you breathless. Here are some things to look out for:
- Stunning Vistas: Don’t forget to stop and take in the views. The higher you climb, the more spectacular the scenery becomes.
- Unique Flora: The trail is rich in local flora, showcasing an array of plants native to the area.
- Wildlife Encounters: Be on the lookout for wildlife, including birds, deer, and other critters that inhabit the region.
| Wildlife to Look For | Description |
|---|---|
| Birds | Various species can be spotted, including hawks and songbirds. |
| Deer | Commonly seen grazing in the early mornings or at dusk. |
| Small Mammals | Look for rabbits and squirrels scurrying about. |
Remember, respecting the environment is crucial. Stay on marked paths, avoid disturbing wildlife, and pack out what you pack in. By doing so, you help preserve the beauty of the lightning rod hiking trail for future generations.
Final Thoughts on the Lightning Rod Hiking Trail
The lightning rod hiking trail offers an exhilarating experience that combines physical challenge with the beauty of nature. Whether you’re hiking solo or with family and friends, the memories you create will be cherished for years to come. From the stunning views to the potential wildlife encounters, every moment on this trail is an adventure waiting to unfold.
So, lace up your hiking boots, grab your gear, and hit the trail! And remember, every hike is a story, and you’re the author of your own adventure.
Frequently Asked Questions
1. Is the Lightning Rod hiking trail suitable for beginners?
Due to its steep sections and the need for scrambling near the summit, the trail is best suited for experienced hikers with good physical fitness.
2. When is the best time to hike the Lightning Rod hiking trail?
Late summer to early fall (July to September) offers the most stable weather and snow-free trails.
3. Are dogs allowed on the trail?
Yes, dogs are allowed but must be kept on a leash. Be mindful of the rocky terrain, which may be difficult for some pets.
4. Do I need any special equipment to climb the spire?
While technical climbing gear is not required, a helmet is recommended, and hikers should be comfortable with hands-and-feet scrambling.
5. How often does lightning strike Mt Thielsen?
Mt Thielsen is known for frequent lightning strikes during thunderstorms, especially in summer. Always monitor weather conditions and practice lightning safety.

